Smart Thermostats for Heat Pumps: Compatibility, Wiring and the Settings That Matter
Most smart thermostats support heat pumps. The trouble is the wiring: the O/B setting, a missing C-wire, and communicating systems that lose features when you swap the control.

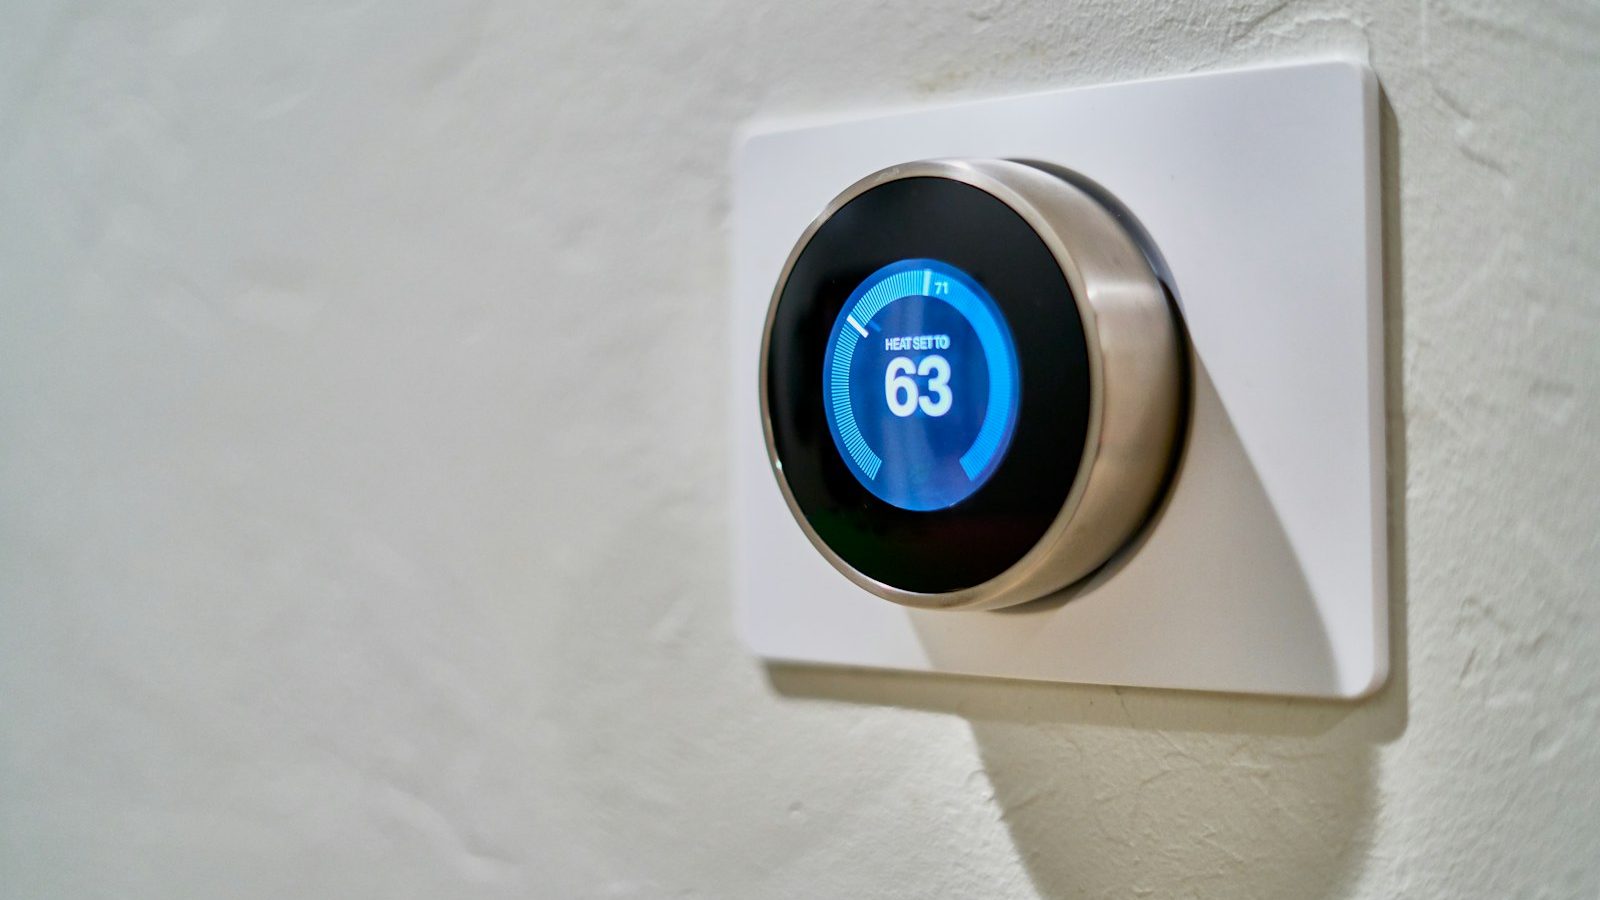
Most smart thermostats work with heat pumps. The wiring and setup are where people go wrong.
Almost every mainstream smart thermostat sold in the US supports a heat pump with backup heat. The trouble usually starts at the wall: a reversing-valve wire set the wrong way, a missing C-wire, or a premium communicating system that loses features when you swap in a third-party thermostat. Get those three right and the rest is easy.
A smart thermostat works with a heat pump if it supports a reversing valve (the O/B terminal) and auxiliary heat, you have a C-wire or a workaround for one, and your system isn’t a proprietary communicating system.
Ductless mini-splits are a different story. Most of them don’t use a wall thermostat at all, so you control them with the maker’s Wi-Fi adapter, a wall controller, or an infrared smart controller that copies the remote. 💡
If you’ve ever stood in a hardware store staring at a wall of thermostats, you know the boxes all promise the same thing: “works with most systems.” For a gas furnace and a basic air conditioner, that’s usually true. A heat pump asks a bit more of the thermostat.
A heat pump heats and cools with the same outdoor unit. To switch between the two, it flips a part called a reversing valve, and the thermostat is the thing telling it when to flip. Most heat pumps also have backup heat, usually electric heat strips in the air handler, and the thermostat decides when that expensive backup comes on. So a heat pump thermostat has two extra jobs a furnace thermostat never does. Pick one that handles both, wire it correctly, and set up a handful of heat-pump-specific options, and you’ll get the savings the box promised.
This guide covers choosing and connecting the thermostat. What temperatures to actually set once it’s installed is a separate topic, and our heat pump thermostat settings guide covers it.
What’s in this guide
- What “heat pump compatible” actually means
- Reading your wires
- O or B: the setting that flips heating and cooling
- The C-wire problem, and ways around it
- Communicating systems: when “smart” is a downgrade
- Mini-splits play by different rules
- The heat pump options to find in the menu
- Which type of control fits your system
- How a swap usually goes, step by step
- 6 mistakes that cause most of the headaches
- Frequently asked questions
- Your final checklist
Alt text: “Labeled thermostat wires ready to connect to a new smart thermostat for a heat pump”
What “heat pump compatible” actually means
When a thermostat says it supports heat pumps, it should be able to do three specific things. If it can’t, it isn’t really compatible, whatever the box says.
First, it controls the reversing valve. The thermostat needs a terminal usually labeled O/B. Without it, the thermostat can turn the compressor on but can’t choose between heating and cooling.
Second, it manages backup heat. Most ducted heat pumps have auxiliary heat, often called aux heat, which kicks in when the heat pump alone can’t keep up. A good thermostat decides when to use it, and lets you stop it running when you don’t need it. That matters, because electric strip heat often costs two to three times as much to run as the heat pump itself. Our guide to how heat pumps work explains why.
Third, it understands staging. A two-stage heat pump has a low and a high setting. A thermostat that only knows “on” and “off” will run it on one stage and waste the feature you paid for.
The good news: ecobee, Google Nest, Honeywell Home, Emerson Sensi and similar brands all list heat pump support with aux heat on their mainstream models. Most of them also have an online compatibility checker. You type in the letters printed next to your current wires and it tells you whether the thermostat will work. Use it before you buy.
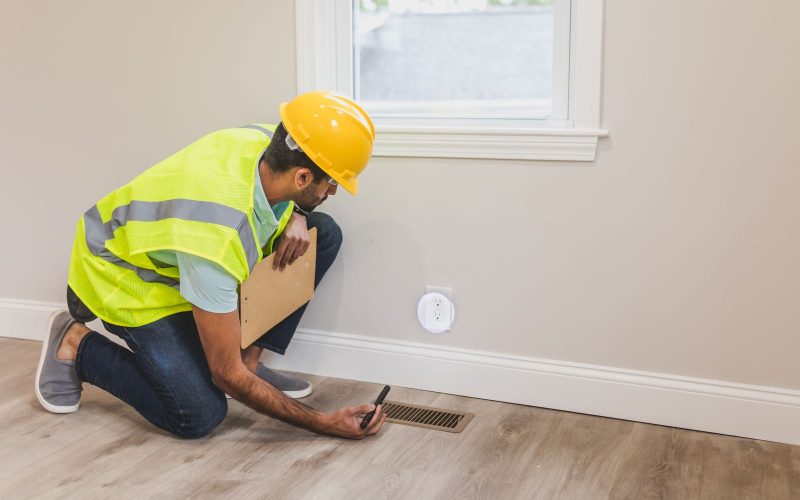
Pull the old thermostat off its base (it usually just lifts or slides off) and photograph the wires and the letters they connect to. That photo is your compatibility check, your installation guide and your undo button all in one.
Reading your wires
Thermostat wires carry low-voltage signals, usually 24 volts, from the thermostat to your air handler. Each terminal has a job. Wire colors are only a convention, and plenty of installers ignore them, so trust the letter each wire is connected to, not its color.
| Terminal | What it does | Needed for a heat pump? |
|---|---|---|
| R (or Rc / Rh) | 24-volt power from the system | Yes |
| C | Common, the return path that keeps a smart thermostat powered | Strongly recommended |
| O/B | Controls the reversing valve (heating vs. cooling) | Yes, this is the heat pump wire |
| Y (or Y1) | Runs the compressor, first stage | Yes |
| Y2 | Second compressor stage | Only on two-stage units |
| G | Indoor blower fan | Yes |
| W / W1 / AUX | First stage of backup heat | If you have backup heat |
| W2 / E | Second stage of backup heat, or emergency heat on some brands | Sometimes |
A simple single-stage heat pump with backup heat usually uses five wires (R, Y, G, O/B and W/AUX), plus a C-wire for a smart thermostat, so six in total. Two-stage systems often add Y2 and W2, bringing you to seven or eight.
Many smart thermostats have separate Rc (cooling) and Rh (heating) terminals. A heat pump normally has a single R wire from one transformer. Most thermostats handle that with a jumper or a setting, so follow the installation guide for your model rather than guessing.
Here’s the part that trips people up. If your old thermostat has a wire on W and a wire on O or B, you have a heat pump with backup heat. If it has a wire on W but no wire on O/B, you probably have a furnace or boiler, not a heat pump, and you should set the thermostat up that way. If you’re not sure which you have, the outdoor unit’s nameplate will usually tell you. A heat pump is labeled as one.
Twenty-four volts won’t give you a dangerous shock, but touching R to another wire can blow the fuse on the air handler’s control board and leave you with no heat. Switch off the breaker for the air handler (and the outdoor unit if they share a switch) before you disconnect anything.
O or B: the setting that flips heating and cooling
This single setting causes more “my new thermostat is broken” calls than anything else.
The reversing valve sits in the outdoor unit. It has a rest position and an energized position. Brands differ on which mode gets which. Most brands energize the valve for cooling, and that’s what the O setting means. A few energize it for heating, which is the B setting. Rheem and Ruud are the brands most often mentioned for B. Your thermostat has one terminal for this wire and a menu setting that tells it which convention your equipment uses.
Get it backwards and the symptoms are unmistakable. Ask for heat and you get cold air. Ask for cooling and you get warm air. Nothing is broken. The thermostat is simply sending the signal at the wrong time.
How to get it right:
- Check what your old thermostat used. If the wire was on a terminal labeled O, choose O. If it was on B, choose B.
- If the old terminal was labeled O/B, look at the old thermostat’s settings menu or manual, or the wiring diagram inside the air handler or outdoor unit panel.
- Test both modes after installing. Run cooling for five minutes and heating for five minutes. If they’re swapped, change the O/B setting in the menu. You don’t need to rewire anything.
If heat and cooling are backwards after a new thermostat goes in, it’s almost never the heat pump. It’s one menu setting.
— The fastest fix in the whole guide
The C-wire problem, and ways around it
An old dial or basic digital thermostat can run for years on AA batteries. A smart thermostat has a screen, a Wi-Fi radio and sensors, and it needs a steady trickle of power. That power comes from the C-wire, short for “common.”
Plenty of older homes don’t have a wire on C, because older thermostats never needed one. Before you give up, check the bundle of wires coming out of the wall. There’s very often a spare conductor folded back behind the others, unused. If there’s an unused wire at the thermostat, it’s frequently also available at the air handler, and a technician or confident DIYer can connect it to the C terminal at both ends.
If there’s no spare wire, you have a few options:
Use the maker’s adapter
Several brands include or sell a small adapter that fits in the air handler and effectively creates a C connection over your existing wires. ecobee includes its Power Extender Kit with many models, and Google sells a Nest Power Connector for some Nest thermostats. Check your model’s page for what’s in the box.
Rely on power stealing (with caution)
Some thermostats can sip power through the other wires when there’s no C-wire. It often works. When it doesn’t, the symptoms are odd: random reboots, a blank screen, Wi-Fi dropping out or equipment clicking on and off. If you see those, the fix is a proper C connection, not a new thermostat.
Run a new cable
Pulling a new 18-gauge multi-conductor thermostat cable is the cleanest fix. It also gives you spare conductors for a future two-stage system. It’s a bigger job if the path from thermostat to air handler is hard to reach, so it’s often worth doing during another HVAC visit.
Heat pumps with backup heat, two stages and a reversing valve use more of your wires for control. Power stealing works through the wires that control equipment, so there’s less room for it to work quietly. If you have the choice, get a real C connection.
Communicating systems: when “smart” is a downgrade
This is the one situation where a mainstream smart thermostat can make your system worse.
Premium variable-speed heat pumps often use a communicating control. Instead of a bundle of wires that each switch one thing on or off, the thermostat and equipment trade data over just a few wires. Carrier’s Infinity line, Trane’s ComfortLink II, Lennox’s iComfort and S40 controls, and Daikin’s One+ are examples you’ll run into. The equipment tells the thermostat exactly what it’s doing, and the thermostat can ask for a precise slice of capacity instead of just “on.”
A conventional smart thermostat like an ecobee or Nest doesn’t speak that language. Many communicating systems can be wired to a conventional 24-volt thermostat, but you usually lose something. Depending on the model, that can be full variable-speed modulation, detailed diagnostics and fault codes, humidity control, or zoning. Technicians and owners describe the same pattern again and again: the system “works” after the swap, but it runs in fewer, cruder stages.
If you own a system like the Carrier Infinity 24, the Trane XV20i or the Lennox SL25XPV, the thermostat is part of what you bought. Before you swap it, ask the installer two questions. Is the system running in communicating mode? And what will I lose with a conventional thermostat? If the answer is “variable-speed operation,” keep the factory control and use the maker’s app for remote access.
Communicating terminals are often labeled with letters or numbers like A, B, C, D or 1, 2, 3, 4, not R, Y, G. Connecting a conventional thermostat to them the wrong way can leave the system unable to run at all. If your old thermostat has only four wires and the labels don’t match the table above, call the installer.
Mini-splits play by different rules
Most ductless mini-splits never had a wall thermostat. Each indoor head has its own sensor and a handheld infrared remote, a lot like a TV. That changes your options completely.
- The maker’s Wi-Fi adapter. Most major mini-split brands sell a Wi-Fi module for each indoor unit that connects to their app. Mitsubishi Electric’s version, which used to be called kumo cloud, is now its “Comfort” app. You get full control and schedules, but you usually pay for an adapter per indoor head. Check prices before you commit to a four-head system.
- A wall controller. Many brands offer a wired or wireless wall controller, such as Mitsubishi’s MHK2. It gives you a thermostat-style keypad and, often, a better temperature reading than the sensor up near the ceiling in the head.
- An infrared smart controller. Products like Mysa for mini-splits and Sensibo sit on a wall or shelf and “speak” your remote’s infrared language. There’s no wiring, and you get an app, schedules and a room-level temperature reading. Some features on some products may need a subscription, so read the fine print.
- A thermostat interface kit. Some manufacturers sell a kit that lets a mini-split, or especially a ducted mini-split air handler, take commands from a standard 24-volt thermostat. It’s useful when a ceiling-concealed unit serves several rooms.
One thing that surprises new mini-split owners: the remote’s temperature reading comes from the indoor head, which is mounted high on the wall where warm air collects. An external controller or wall-mounted sensor at seated height often makes the room feel more even. For more on how ductless systems differ from ducted ones, see our ducted vs. ductless guide.
Alt text: “Ductless mini-split indoor unit with a wall-mounted smart controller in a living room”
The heat pump options to find in the menu
Once the thermostat is wired, go into its installer or equipment settings. These are the heat-pump-specific options that decide how much you spend.
Equipment type. Tell it you have a heat pump, how many compressor stages it has, and whether your backup is electric strips or a gas furnace (a “dual-fuel” setup). This one choice changes how everything else behaves.
Aux heat lockout. This is the outdoor temperature above which backup heat is not allowed to run. Set it too high and you’ll pay for strip heat on mild days the heat pump could have handled alone.
Compressor lockout. This is the outdoor temperature below which the thermostat stops using the heat pump and runs backup heat only. Modern cold-climate heat pumps can often keep heating well below freezing, so a conservative factory value can switch them off too early. Check what your outdoor unit is actually rated to do. Our cold-climate guide explains how to read those ratings.
Brands package these differently:
- Google Nest has a feature called Heat Pump Balance, with four choices: Max Comfort (the default), Balanced, Max Savings and Off. Max Comfort uses aux heat sooner and more often. Max Savings holds it back. Turn Balance off and you set the aux lockout temperature yourself.
- ecobee puts these in its installation “Thresholds” menu, with settings including Compressor Min Outdoor Temp and Aux Heat Max Outdoor Temp. ecobee’s own documentation has listed 35°F as the compressor minimum default. That’s cautious for many modern inverter and cold-climate units, so it’s worth a conversation with your installer.
- Honeywell Home and others offer similar lockout and staging options in their installer setup, and some higher-end models accept a wired outdoor temperature sensor instead of relying on internet weather data.
The compressor lockout and the aux lockout work as a pair. If they’re set so there’s a band of outdoor temperatures where neither the heat pump nor the backup is allowed to run, some thermostats can leave you short of heat on exactly the wrong morning. Keep them consistent, or leave them to your installer.
Emergency heat is a different thing from aux heat, and it’s a mode you choose yourself. Our explainer on emergency heat vs. auxiliary heat covers when to use it, which is rarely.
Which type of control fits your system
| Your system | Best control option | Watch out for |
|---|---|---|
| Standard ducted heat pump (single or two-stage) | Mainstream smart thermostat with heat pump + aux support | O/B setting, C-wire, aux lockout |
| Heat pump + gas furnace (dual fuel) | Smart thermostat that lists dual-fuel support | Switchover temperature; check it’s not left at a default |
| Communicating variable-speed system | The manufacturer’s own control and app | Losing modulation or diagnostics with a third-party swap |
| Single-zone ductless mini-split | Maker’s Wi-Fi adapter, wall controller or IR smart controller | Adapter cost per head; subscription features |
| Multi-zone mini-split | One controller per indoor head | Heads fighting over heat/cool mode on a shared outdoor unit |
| Ducted mini-split air handler | Maker’s wall controller or a thermostat interface kit | Kit compatibility with your exact model |
How a swap usually goes, step by step
For a standard ducted heat pump with a C-wire available, a thermostat swap is a reasonable DIY job for a careful homeowner. If any step below feels uncertain, a technician can do it in under an hour, and it’s a common add-on during a service visit.
Check compatibility online
Enter your wire letters into the manufacturer’s compatibility checker. Confirm heat pump, aux heat and any second stages are supported.
Kill the power
Turn off the breaker for the air handler. Confirm the old thermostat’s screen is dead, or that the system won’t respond.
Photograph and label
Take a clear photo of the wiring. Stick the labels that come in the box onto each wire, matched to the letter it was connected to.
Mount the new base
Feed the wires through, level the base, and connect each labeled wire to the same letter on the new base. If your old terminal was O/B, the new one probably is too.
Power up and configure
Restore power. The setup wizard will ask about equipment type, stages, O or B, and backup heat. Answer carefully. This is where most mistakes happen.
Test every mode
Run cooling, heating, fan only, and aux or emergency heat, a few minutes each. Warm air in heat and cool air in cool means O/B is right.
Set the lockouts
Open the installer settings and check the aux and compressor lockouts against your equipment’s ratings, not the factory defaults.
Put it in a drawer with its photo. If something goes wrong, especially in the middle of a cold snap, you can put it back in ten minutes and troubleshoot the new one in daylight.
6 mistakes that cause most of the headaches
❌ Mistake 1: Trusting wire colors instead of letters
People match “orange to orange” and assume it’s right. Installers use whatever wire is handy, and color conventions vary.
❌ Mistake 2: Leaving O/B on the default
The wizard offers O as the default, you click through, and your heat pump blows cold air in heating mode.
❌ Mistake 3: Setting it up as a furnace
If you choose “conventional” heating on a heat pump, the thermostat may treat backup heat as the main heat source. Your system still works, but it uses the most expensive heat first.
❌ Mistake 4: Swapping out a communicating control
A premium variable-speed system is often quietly downgraded to one or two stages when a third-party thermostat goes in.
❌ Mistake 5: Ignoring flaky behavior with no C-wire
Random restarts, Wi-Fi dropouts or equipment chattering on and off get blamed on the thermostat. They’re usually a power problem.
❌ Mistake 6: Never touching the lockout settings
Factory defaults are cautious, and a cautious aux lockout can mean strip heat running on mild afternoons.
Frequently asked questions
Does a Nest or ecobee work with a heat pump?
Yes. Mainstream Nest and ecobee models support heat pumps with auxiliary heat, and both have heat-pump-specific settings for when backup heat is allowed to run. The exceptions are proprietary communicating systems and most ductless mini-splits, which use different controls. Use the brand’s online compatibility checker with your wire letters before you buy.
Do I need a special thermostat for a heat pump?
You need one that supports a reversing valve (the O/B terminal) and auxiliary heat if you have it. Most smart thermostats do. A thermostat designed only for a furnace and air conditioner can’t tell the heat pump whether to heat or cool.
My heat and cooling are backwards after installing a new thermostat. What happened?
The O/B setting is set the wrong way. Most brands energize the reversing valve in cooling (O), but a few use heating (B). Change the setting in the thermostat menu. You don’t need to move any wires.
Can I use a smart thermostat with a mini-split?
Not a standard wall thermostat, in most cases. Mini-splits normally use an infrared remote. Your options are the manufacturer’s Wi-Fi adapter, a wall controller, an infrared smart controller such as Mysa or Sensibo, or a thermostat interface kit for some models.
What if I don’t have a C-wire?
Check for an unused spare wire in the bundle first. If there isn’t one, many brands include or sell an adapter that creates a C connection. Power stealing works for some homes but can cause reboots and Wi-Fi drops. A new thermostat cable is the most reliable fix.
Will a smart thermostat save money with a heat pump?
It can, mostly by keeping expensive backup heat from running when the heat pump could do the job, and by making schedules easy to stick to. Heat pumps don’t benefit from deep nighttime setbacks the way furnaces do, so the savings come from smart aux control more than from dramatic temperature swings.
Your final checklist
✅ Your smart thermostat checklist
- Photograph the old wiring — before you disconnect a single wire
- Confirm it’s a heat pump — look for a wire on O, B or O/B
- Run the brand’s compatibility checker — using your wire letters, not colors
- Find out if your system is communicating — if so, ask the installer before swapping
- Sort out the C-wire — spare wire, maker’s adapter or new cable
- Turn off the breaker — protect the air handler’s control board
- Set equipment type to heat pump — with backup as auxiliary heat
- Choose O or B correctly — and test both heating and cooling
- Check aux and compressor lockouts — against your unit’s cold-weather ratings
- For mini-splits, pick a controller per head — Wi-Fi adapter, wall controller or IR controller
- Keep the old thermostat for a week — your quick way back if anything goes wrong
Once it’s installed, our thermostat settings guide covers what temperatures to set. If you’re still choosing equipment, start with the best heat pumps of 2026 and check what control each system ships with. Some of the best features live in the thermostat.
Sources

Heat Pump Reviews Editorial Team
Our editors research heat pumps full time: manufacturer specifications, AHRI and ENERGY STAR listings, published cold-climate performance data, warranty terms, installer feedback and owner reviews. We do not accept payment for placement, and every rating follows our published methodology.